Building Apps for ODROID-GO using ESP-IDF
In this post I’ll describe how to write your own programs for the ODROID GO, a handheld gaming console featuring an ESP32.
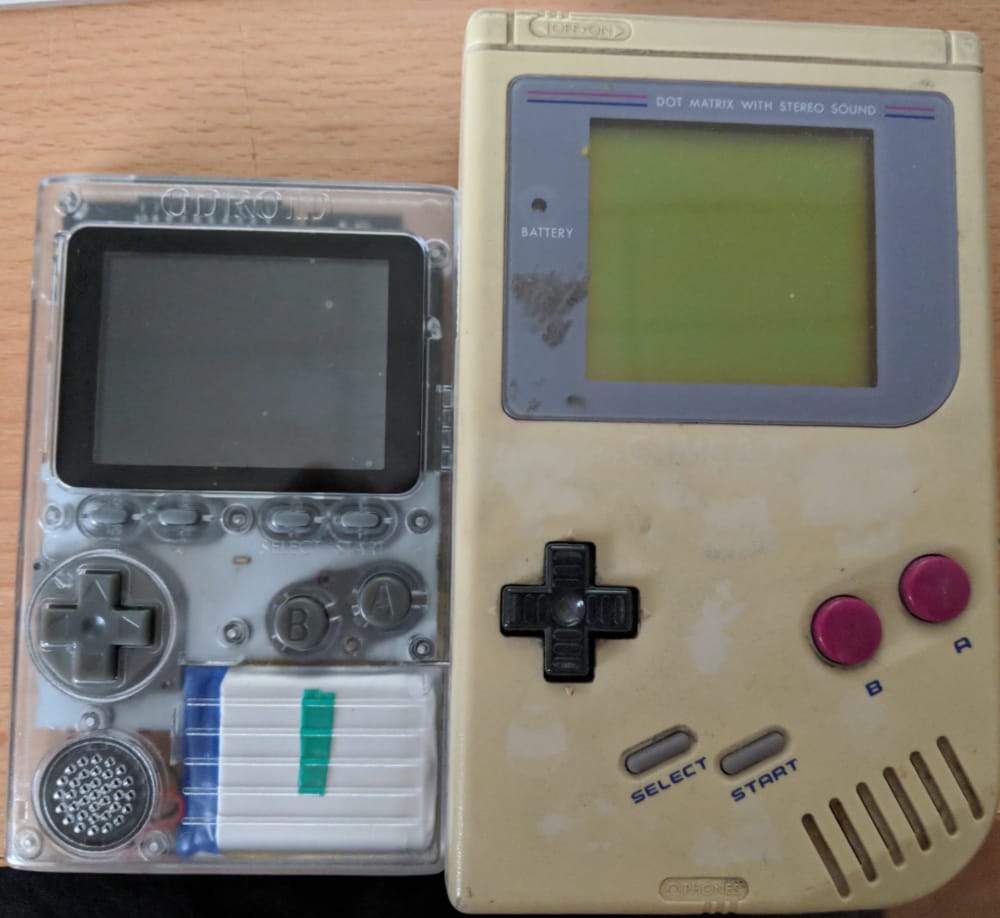
If you don’t know about the ODROID-GO, you should look it up immediately! Those beautiful things are basically an ESP32 with a display, speaker, battery, buttons, charge controller, uart converter, microsd reader and a neat case for $32. It looks kind of like the original GameBoy (pic below for reference) and there is an emulator rom available which is able to play NES, GB/C, SMS and Coleco Vision roms.
But the main feature from my point of view is that the tools you need to create own firmware files are freely available. And you don’t have to connect the Go to a PC everytime you flash it. You can also just copy .fw files to the /odroid/firmawre folder on the MicroSD and flash it using the built in “BIOS”. The tool necessary to create those files is included into the Odroid Go Firmware source code. Isn’t that neat?
By the way, this is exactly what I want to show in this article. So let’s get started!
Initial Setup
To be able to compile stuff for the ESP, you first need to install the esp-idf environment. To do the initial setup, it’s enough to just follow the instructions provided by espressif.
Now you should clone the Odroid-Go-Firmware into your workspace folder. Change into the /tools/mkfw folder inside the firmware source and execute make. Now you should have an executable mkfw file inside the folder. You can either copy it into any folder that’s in your $PATH or change it accordingly (or be lazy as fuck like me and just call it using the full path everytime 😁).
Writing Code
Project Structure
Let’s create our Hello-World application. To begin, you’ll need to create a random folder inside your workspace in which we store the project. As a first step, run git init inside the folder to create a new Git repository.
Next, create a .gitignore file inside the root directory. If you want you can put the following stuff into it, to get a basic configuration (and a garbage free repo):
.DS_Store
build
sdkconfig.old
.idea
*.iml
*.swp
*.log
Inside the project folder, create a Makefile file and put the following text into it:
PROJECT_NAME := odroid-go-hello-world

include $(IDF_PATH)/make/project.mk
You can change the PROJECT_NAME variable, but let the include as it is.
If you want, you can run git commit now and create the initial commit.
Adding the ODROID C/C++ Library
In the sample code used in the ODROID Wiki, the odroid_go.h file is used for most tutorials. This library requires the Arduino library which is not included into ESP-IDF so we’ll need to add both of them. All libraries will be added as Git Submodules because they are all available as Git repositories and it’s very convenient this way. All of the submodules will be cloned into the /components folder in your project so you should create this folder now.
Arduino Library
We’ll use the ArduinoESP32 Library provided by Espressif. You can add it using:
git submodule add https://github.com/espressif/arduino-esp32/ components/arduino
Now change directory into /components/arduino and run the following command to init the submodules.
git submodule update --init --recursive
Finally, we’ll need to execute a script that will download additional stuff for us. To do that, change directory into /components/arduino/tools and run the following:
python get.py
ODROID-GO Library
We’ll use the Hardkernel ODROID-GO Library. You can add it using:
git submodule add https://github.com/hardkernel/ODROID-GO components/odroid-go
Creating the Hello World
Now create a folder called main and create a main.cpp file in it. Put the following text into it:
#include "Arduino.h"
#include "odroid_go.h"

void setup() {
    GO.begin();
}

void loop() {
    GO.lcd.clearDisplay();
    GO.lcd.setTextSize(2);
    GO.lcd.setTextFont(1);
    GO.lcd.print("Hello, ODROID-GO");
}
First Compile
Now it’s time to run the first compilation. First, ESP-IDF will make the build fail because of missing Python dependencies. This will produce an error message similar to:
the following Python requirements are not satisfied:
    future>=0.16.0
Luckily, it will also print a command which will let you install the missing dependencies. After running the command provided, start the build again and you should see how ESP-IDF continues to pull missing git submodules.
After this, make will start asking you questions regarding your build config. You can use the defaults (by just pressing enter) everywhere except with the following option:
Autostart Arduino setup and loop on boot (AUTOSTART_ARDUINO) [N/y/?] (NEW) y
It’s important that we select y here, because this will enable the setup() and loop() and deprecate the app_main(void) method which esp-idf uses by default (ie. this option enables “Arduino Mode”).
After this, the main compilation will start. And I guarantee you that this will fail too with the following message:
CC build/arduino/cores/esp32/libb64/cdecode.o
    make[1]: *** No rule to make target `cores/esp32/libb64/cencode.o', needed by `libarduino.a'.  Stop.
    make: *** [component-arduino-build] Error 2
I have this error everytime I use esp-idf and simply running the build again works every single time! I don’t know what causes this and I don’t know any workarounds than just restarting the build.
You should now have a .bin file that can be used to either flash the Odroid-Go directly or create a .fw file that can be loaded dynamically using the Odroid’s “BIOS”. This is what I will describe in the next paragraph.
Note: If the build still doesn’t work for you, please see the disclaimer at the end of this post regarding more build errors and why I decided against trying to fix them. (Sorry about this)
Creating the firmware file
The Odroid Wiki has an article on this topic. I’ll TL;DR it below.
Prerequisites
At first, you’ll need to install ffmpeg. On Debian/Ubuntu based systems this can be done by running:
sudo apt install ffmpeg
After that, create a .png file with dimensions of 86x48px. I will call this file logo.png in the next commands. This file will be used as a logo in the Odroid-Go “BIOS” (App/Flash Menu).
To convert the logo into a format that’s usable for the Odroid-Go using ffmpeg:
ffmpeg -i logo.png -f rawvideo -pix_fmt rgb565 logo.raw
Creating the firmware
Now that the dependencies to make the firmware are satisfied, you can create it running the command below from the folder containing the mkfw executable:
./mkfw test logo.raw 0 16 1048576 app odroid-go-hello-world.bin
Regarding the program arguments: As you might already have guessed the documentation for the mkfw tool is a little scarce so I had to look into the code to find out (vaguely) what the numbers are.
According to the source code, the first number after the logo.raw is the partition type. I assume that a zero means it’s the main partition and a one refers to a data partition (this could be wrong as those are the only values used in the tutorial.
The second number is the “partition subtype”, I also don’t know exactly what that’s for, in the tutorial, the program partition (with type zero) has a subtype of 16. The data partition (with type one) has subtype of 130.
The third number is the partition size, this should be equal to the byte size of the .bin file when creating a program partition. Obviously, you need to adjust this to match the actual size of the file you created.
After running the tool you should now have a firmware.fw file inside the directory where mkfw is (or from where you executed it).
“Flashing” the Odroid
I wrote flashing in quotation marks there because all you have to do to flash the .fw file onto the Odroid is to copy it to the /odroid/firmware folder on the SD Card and turn on the Odroid-Go while pressing the B button.
You should now see a menu similar to the one shown on the wiki page and if you select your firmware there, the Odroid should start flashing itself and restart (loading your firmware instead of the “BIOS”) when it’s done.
Disclaimer
Unfortunately due to the official library being incompatible with esp-idf I was unable to finish this project. I ended up just pasting the code into the Arduino IDE and building the .bin using that. Even though I don’t like it very much, this seems to be the only viable option as of now. I also heard that PlatformIO works with the Odroid-Go but I have not tested this myself.
I also had another little disagreement with the go-play developer that caused me to lose interest in the platform so I decided to publish this post in its unfinished state, in the hopes that it might help someone.