Customize EngineOS layer colors to whatever you want!
DenonDJ is a brand of inMusicBrands that manufactures DJ Hardware and (at least partially) develops the EngineOS and EngineDJ software.
I bought my first DJ Controller in 2015 and in 2022 upgraded to a set of two SC6000 players and one X1850 mixer. I have been trying to get around the fenced-in software and customize the units to the best of my abilities ever since, and now finally have reached a milestone that I want to share today.
How we got there
But first things first: How does all that stuff work?
The mixer has a LAN hub (or switch, docs are inconclusive) with four ports reserved for players and one port for an external network or a computer. The mixer uses this to get the current BPM value and maybe other stuff from the players and in addition the players can use the connection to access their connected libraries.
The SC6000 has one feature that I really like: The ability to insert a SATA hard drive so you don’t have to insert your USB stick every time. When using that internal hard drive to sync, you have to reboot the player into what is called “computer mode”. This shares access to the internal drive to the host computer as a mass storage device which is then used by EngineDJ to sync the library to it.
This library consists of the track databases for local and streaming tracks, an optional SoundSwitch project and a “user profile” that contains preset settings for the player, for example which color each layer has.

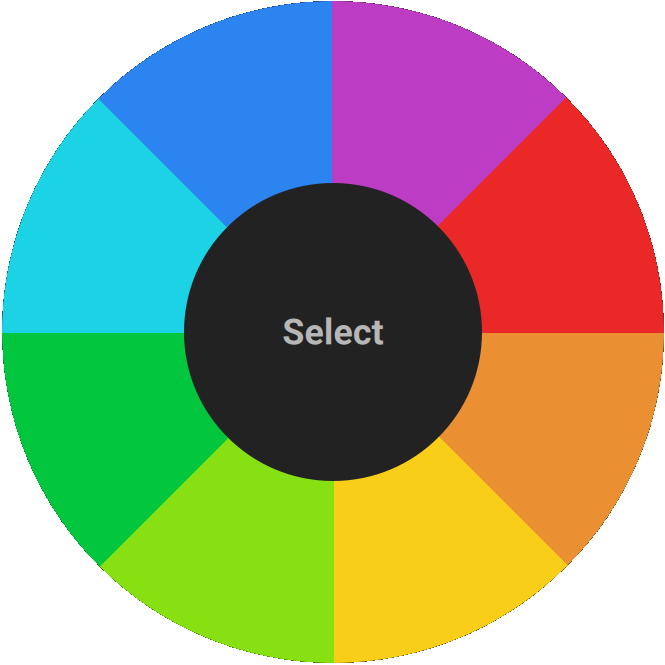
The choices you have there are more than limited:

Luckily, the EngineLibrary/user.profile file contains the player and layer colors as hex values, better yet: EngineOS actually respects that. Even the X1850 firmware shows whatever color you throw at it!
The user profile
The user.profile file is a JSON file and as such can be edited with any text editor. Here is the color section for player one:
{
  "PlayerColor1": {
    "color": "#ff9000ff",
    "type": 16
  },
  "PlayerColor1A": {
    "color": "#ff9000ff",
    "type": 16
  },
  "PlayerColor1B": {
    "color": "#ff00ffe2",
    "type": 16
  }
}
As you can see, every player has a “base(?)” color and a color for each layer. You can’t change the “base” player color in EngineDJ, only the layer colors. As far as I can tell, the base color is used before anything is selected after bootup and is saved when selecting a user profile (so the first time you start the player with the changed profile the default color will be used, but after selecting the profile, the custom color will reappear after rebooting).
Color codes
The color codes work a bit like reversed Android Hex color codes, where the first two chars are for transparency (and are ff/255 by default) and the other six for colors, in the same rrggbb format that is also used in CSS.
So for example the red color in CSS is #ff0000 (so the red channel is at max, the green and blue at min). Add the transparency values to get #ffff0000, where the fist two characters are the transparency (no transparency/maximum opacity) followed by the six color chars.
Now we can get to changing stuff and seeing what we get from it!
Possibilities
I have recorded a few videos showing what’s possible.
For example, here is a purple and teal color combination:
But you are not limited to colorful colors, here’s proper purple and black (watch the layer ui, it gets a black border):
And of course you can set the transparency chars to 00 to make the color transparent.
Although this has a caveat: It only works in the UI, the jog wheel and layer button will ignore the transparency setting.
To get proper transparent layers, you can set the color to transparent black (the ui won’t get a black border):
Hope this is useful for some 🙂
ps: Huge thanks to YouTube for trying to be like TikTok and putting their damn watermark over the videos, even if you download them as uploader.
If you have any improvements or comments, please let me know!