Developing Ghost themes (IMHO)
Table of Contents
As you might have noticed this blog is was using Ghost, which is a JavaScript based blogging software that uses Handlebars templates for theming. In this post I’ll show how I set Ghost up locally to develop themes with as little pain as possible.
Please note that this guide was written for v3 of the Ghost theming API and things might change in later versions.
Prerequisites
There are a few things that need to be done before installing Ghost.
NodeJS
Of course, NodeJS is needed to run Ghost. The easiest way in my opinion is to use nvm to install Node v12 (or any version currently supported).
Folder structure
Ghost also needs to be installed somewhere. As this is meant to be a development environment, it’s sufficient to create something like ~/workspace/ghost-dev. It’s important to keep in mind that this is where Ghost is installed, not where theme development happens.
I’d suggest to make every theme you develop a top level folder in workspace, but of course you could also put them somewhere else, except the folder where Ghost is going to be installed.
Multiple Ghost versions
If you plan to develop themes that have to be tested on multiple ghost versions or just multiple instances with different data in them, you might want to create a directory structure like ~/workspace/ghost/ghost-3.14.0. In that case you could also put themes into ~/workspace/ghost although it might cause some clutter.
Why not use /ghost/content/themes?
The reason why I’d suggest not putting the theme you plan to develop into the content/themes folder of your Ghost installation is deduplication.
Example: Let’s assume that we created a theme at ~/workspace/ghost-theme-bling. To install this theme into a Ghost instance running at ~/workspace/ghost-dev, we can simply create a link:
ln -sv /home/user/workspace/ghost-theme-bling /home/user/workspace/ghost-dev/content/themes/ghost-theme-bling
This will create the symbolic link ~/workspace/ghost-dev/content/themes/ghost-theme-bling and the only thing left to do to see the theme in ghost is a quick ghost restart.
But I’m getting ahead of myself…
Installing Ghost
Installing Ghost is done by using the ghost-cli and is probably the easiest part of this guide:
npm i -g ghost-cli
cd ~/workspace/ghost-dev
ghost install local
After the last command finishes, you should be able to reach the newly installed instance at: http://localhost:2368.
Now the only thing left to do is to fill out the initial setup stuff and the installation is done.
Creating a simple theme
Now that Ghost is installed, running and configured, let’s develop a simple theme.
Add all the files
To create a Ghost theme, first of all we need a folder. Let’s just stick with ~/workspace/ghost-theme-bling for now.
Directory structure (again)
Inside ~/workspace/ghost-theme-bling we’ll create two folders: assets and partials.
The assets folder is where we’ll put our static stuff like fonts, images, styles and JS code. To further sort things, let’s create assets/css and assets/js.
The partials folder will contain Handlebars templates that can be included in other templates to keep files easily readable and components reusable.
All the other stuff will be put in the “root” of the theme, ie. ~/workspace/ghost-theme-bling.
Let’s write some code!
package.json
The first file we’ll need to create is ./package.json:
{
    "name": "ghost-theme-bling",
    "description": "An example theme for Ghost.",
    "version": "0.0.1",
    "engines": {
      "ghost-api": "v3"
    },
    "keywords": ["ghost-theme"],
    "license": "WTFPL",
    "author": {
      "name": "Developer Name",
      "email": "email@example.com"
    },
    "config": {
      "posts_per_page": 10
    }
}
There are also a few more optional properties that can be set as well.
Also, this is not your usual package.json since (afaik) Ghost won’t install any dependencies when installing the theme and apparently only requires it for metadata reasons.
With the metadata done, let’s start constructing our theme from where Ghost will start rendering it.
default.hbs
The file default.hbs contains Markup that every other top level template of the theme should also contain. This is where we’ll put the <head> and include any necessary JS at the bottom.
A simple default.hbs could look like:
<!DOCTYPE html>
<html lang="{{@site.lang}}">
<head>
<meta charset="utf-8"/>
<title>{{meta_title}}</title>
<link rel="shortcut icon" href="{{asset "favicon.ico"}}">
<!-- link rel="stylesheet" type="text/css" href="{{asset "css/styles.css"}}"/-->
{{! Ghost outputs styles and meta data with this tag }}
{{ghost_head}}
</head>
<body class="{{body_class}}">
{{! Insertion point for "subtemplates" }}
{{{body}}}
<footer class="site-footer">
<section class="copyright"><a href="{{@site.url}}">{{@site.title}}</a> © {{date format="YYYY"}}</section>
<section class="secondary-nav">{{navigation type="secondary"}}</section>
<section class="poweredby">Published using <a href="https://ghost.org">Ghost</a></section>
</footer>
{{! Ghost outputs some scripts with this tag }}
{{ghost_foot}}
<!-- script type="text/javascript" src="{{asset "js/index.js"}}"></script -->
</body>
</html>
As you can see, we’re already using Handlebars expressions to substitute variable data in our templates later on.
First of all there is {{@site.lang}} which is the language set in the blog settings. Then there are a few more like {{meta_title}} and {{@site.url}}, but we are also using custom Handlebars helpers that Ghost offers to do stuff like loading a favicon by using {{asset "favicon.ico"}}. Obviously the asset helper will only resolve files relative to /assets/.
The main point of interest here is the {{{body}}} tag where Ghost will insert sub templates for stuff like single posts, post lists, etc.
index.hbs
This is the file I confused with default.hbs when I started playing with my first theme. This is the “landing page” of the blog, so this will be inserted into the {{{body}}} of default.hbs when navigating to https://localhost:2368/.
A sample index.hbs might look like:
{{!< default}}

{{> "header"}}

<main id="content" class="content" role="main">
  <div id="articles">
    {{> "loop"}}
  </div>
</main>
The first tag ({{!< default}}) takes care of rendering the content of index.hbs into default.hbs.
Below that, we’re using our first partials. The {{> "header"}} tag will try to include partials/header.hbs and inside the div#articles, we’ll include another partial (partials/loop.hbs) that will contain a post list.
Let’s add the header!
partials/header.hbs
This file will contain the blog header. This part usually contains the site title, a subtitle and the primary navigation.
Again, there is a sample below:
<header id="header">
<a href="{{@site.url}}"><h1 class="blog-title">{{@site.title}}<small> {{@site.description}}</small></h1></a>
<nav class="header-nav-wrapper">
{{navigation}}
</nav>
</header>
This partial will render the blog title, subtitle and navigation.
The {{navigation}} tag is another helper that resolves a partial at partials/navigation.hbs.
Also note that there is no {{!< default}} tag in this template because it is included into sub templates of default.hbs.
partials/loop.hbs
Now let’s add the loop template. This template is used for any list of posts which we will access using helpers offered by ghost.
Minimal example below:
{{#foreach posts}}
<a class="article-link" href="{{url}}">
  <article class="{{post_class}}">
    {{#if feature_image}}
    <section class="post-image" style="background-image:url({{img_url feature_image}})"></section>
    {{/if}}
    <header class="post-header">
        <h2 class="post-title">{{{title}}}</h2>
    </header>
    <section class="post-excerpt">
        <p>{{excerpt words="26"}}...</p>
    </section>

    <footer class="post-meta">
        <time class="post-date" datetime="{{date format='YYYY-MM-DD'}}">{{date format="DD MMMM YYYY"}}</time>
    </footer>
  </article>
</a>
{{/foreach}}

{{pagination}}
At first you can see the foreach helper being used on posts. This is a variable we get because loop.hbs is used in the index-context. This context is available when rendering the landing page, an author’s page or a tags page.
One cool thing about how Ghost handles theming is that you only need to supply the index.hbs template and it will be used for the tag and author pages as well.
If you want to have a custom template, let’s say for an author’s page where you want to feature the authors image or bio, you can create a author.hbs file that will be used instead of index.hbs in case it exists.
And since the index-context has the same (but less) properties as, let’s say the author-context, the loop.hbs partial can be used in any of those templates.
partials/navigation.hbs
This template will render both the primary and secondary navigation:
<ul id="taglist-{{#if isSecondary}}secondary{{else}}primary{{/if}}" class="taglist">
  {{#foreach navigation}}
  <li class="nav-{{slug}}{{#if current}} active{{/if}}" role="presentation">
    <a href="{{url absolute="true"}}">{{label}}</a>
  </li>
  {{/foreach}}
</ul>
Since Ghost v3 there is the possibility to add a secondary navigation. While the location this partial is rendered on the page might change depending on the navigation being wither primary or secondary, the markup itself stays the same. The only difference is the id property of the resulting <ul>.
post.hbs
This is the third top-level (and required) template that will be used when rendering a single post.
{{!< default}}
{{#post}}
{{> "header"}}
<main id="content" class="content" role="main">
  <article class="{{post_class}}">
    <header class="post-header">
        <h1 class="post-title">{{title}}</h1>
        <section class="post-meta">
            <time class="post-date" datetime="{{date format='YYYY-MM-DD'}}">{{date format="DD MMMM YYYY"}}</time>
            <span class="author">by {{authors}}</span>
        </section>
    </header>
    <section class="post-content">
        {{content}}
    </section>
  </article>
</main>
{{/post}}
As a top level template, this has to be included in default.hbs and we also need to render the blog header. We also switch to the post-context by using the {{#post}} block helper.
There is also a page-context that will be used for pages but similar to the index.hbs template, the post.hbs template will be used for pages if page.hbs does not exist.
LICENSE & README.md
Since you’ll probably want to share your work with the rest of the world, you should also add a LICENSE and a README.md but those files (while kind of necessary) are not the focus of this post.
Validating the theme
While it might not look that great, you should now have a basic theme that fulfills the requirements set by Ghost. To validate this, we can use the gscan utility which validates Ghost themes.
npm i -g gscan
cd ~/workspace/ghost-theme-bling
gscan .
A valid theme will result in an output like this:
Checking theme compatibility...

✓ Your theme is compatible with Ghost 3.x
If gscan finds any issue, it will print out a warning and (imo) pretty helpful tips on how to fix them.
Further development
Now that we know that the theme skeleton is valid, we can start developing it further.
The first thing that has to be done is linking the newly created theme into the Ghost development instance we installed at the start of this post:
ln -sv /home/user/workspace/ghost-theme-bling /home/user/workspace/ghost-dev/content/themes
After the link is created, Ghost has to be restarted:
cd ~/workspace/ghost-dev/
ghost restart
Restarting Ghost is only necessary when adding new files, not when changing things.
After that you should be able to see the theme in the Ghost admin panel. If you activate it and navigate to the main page of the blog, you should be able to see the following:
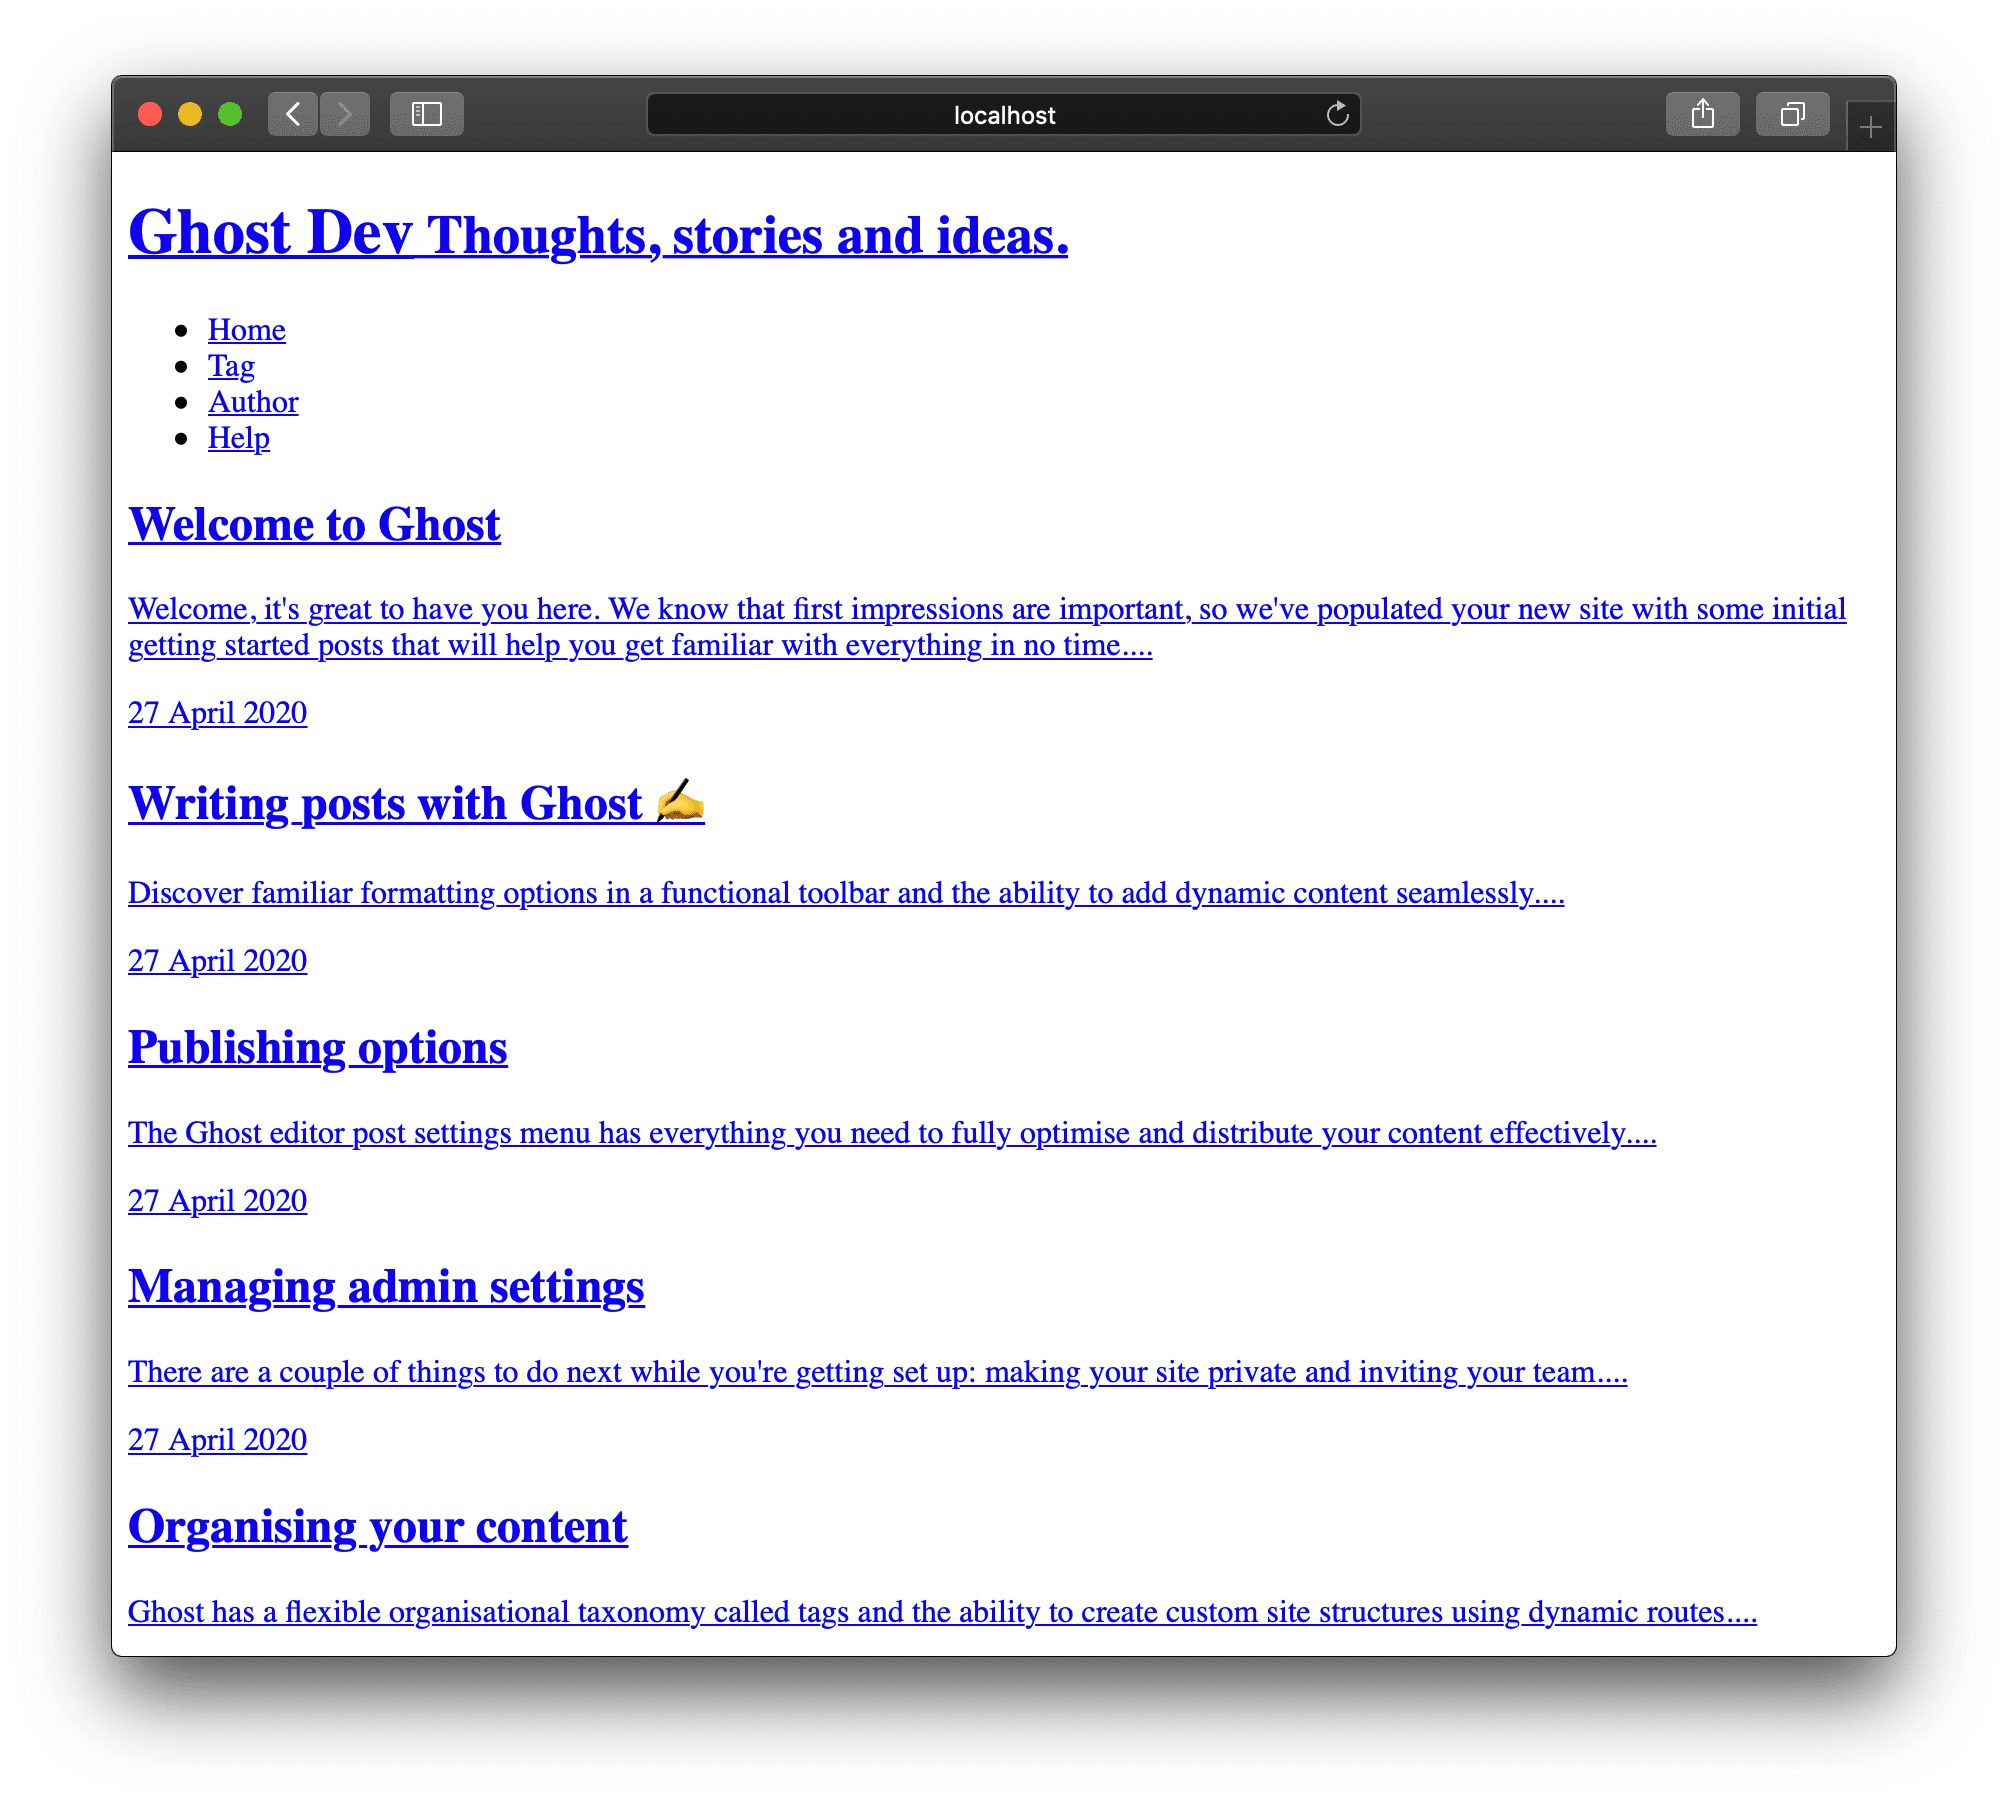
The first thing I’d do now is creating assets/css/style.css, commenting out the <style> tag in default.hbs and start styling away.
The End
This is basically how I tweak and create Ghost themes. In my opinion this is a very painless setup and playing around with Ghost themes is lots of fun.
I hope this post was helpful to somebody.
If you have created a Ghost theme after reading this or have any suggestions to improve this post, please don’t hesitate to contact me.