How to use TPM-backed SSH keys on macOS
I recently had to reinstall macOS (because the installation had ~250GB of “System Data” I am unable to purge, even as root) and used this opportunity to switch my SSH key setup on that device to be completely TPM-backed…
Welcome to the final post of 2025; Happy New Year!
In this post I will list the necessary steps and recommend some configuration options that might be helpful if you happen to be in a similar situation, or are considering, or currently in the process of switching your SSH keys to be TPM-backed.
One of the main benefits I hope to get from this change is peace of mind, as the private key will be kept in the TPM and can’t be (that easily) stolen by for example malware running as my user account (which would normally have read access to the private key). Additionally I hope to get more quality of life from using biometric authentication instead of passphrases when authenticating.
Managing TPM keys
This section describes the methods to manage private keys saved in the TPM.
Generating a private key
The private key will be created using the built-in tool sc_auth (you can view its manual page using man sc_auth):
sc_auth create-ctk-identity -l "<LABEL>" -k p-256-ne -t bio -N "<LABEL>" -E "<EMAIL>"
You will have to replace:
<LABEL>with a label of your choice (I useuser@hostfor ssh keys)<EMAIL>with an email address representing the key (it’s optional, see the explanation of the parameters below)
Here’s what the parameters mean:
-lis the key label for the list of keys saved in the TPM-kis the key size, please note that only256and384are supported, but 384 is not supported by ssh; the-nesuffix means non-exportable, if you choose the key size without that suffix the private key can be exported from the TPM-tis the private key protection, allowed values arebiofor biometric protection, ornone-Nis the common name attribute of the key, this is not used by ssh and only added for decorative purposes (similar to the label, so I used the same value)-Eis the email address attribute of the key, same as the common name it’s not used by ssh and only set for decorative purposes
Listing and removing keys
To list keys saved in the TPM you can use:
sc_auth list-ctk-identities
To delete a certain key, you can note its ID in the output of the command above and run:
sc_auth delete-ctk-identity -h <ID>
You have to replace <ID> with the ID of the key you want to delete.
Exporting the keys for SSH
To export the public key and a reference to the credential stored in the TPM, you can run this command:
cd ~/.ssh
ssh-keygen -w /usr/lib/ssh-keychain.dylib -K -N ""
This will export the keys saved in your TPM into the current folder (which is ~/.ssh after the cd command).
Note that if the ~/.ssh folder doesn’t exist, the best way to create it is letting SSH handle it by running ssh-keygen -t rsa -b 1024 -C temp, then spam enter until the key is generated, followed by rm ~/.ssh/id_rsa* to delete the key and be left only with a working ssh dir.
Here’s what the parameters mean:
-wsets the keychain library to use (the path points to a system library used to communicate with the TPM)-Ktellsssh-keygento load keys from “the first connected FIDO authenticator” (which is the TPM in most cases)-Nsets the key passphrase, we use an empty string since the user presence is confirmed using biometrics (you could additionally use a passphrase)
Using the key by default for all hosts
Since I want to use this key as default for all hosts, the easiest way to set this is using my ~/.ssh/config file, which is also taken into account when using git, rsync, etc. I added this part:
Host *
	IdentityFile ~/.ssh/id_ecdsa_sk_rk
	IdentitiesOnly yes
	SecurityKeyProvider /usr/lib/ssh-keychain.dylib
What we’re telling ssh here is that for any host (*), we want to use the TPM library, the TPM key and that we don’t want to use any other key file than the one specified.
You can (and probably need to) change this to match your setup.
Deploying the public key on hosts
Deploying the public key on your hosts should work as normal (you can use a multitude of methods).
The one thing I thought was weird is that in the exported key the key comment is just ssh: and I was unable to get it set to something else using sc_auth. Fortunately you can simply change the comment of public keys in your hosts, it will not be validated when you try to connect.
Connecting to hosts
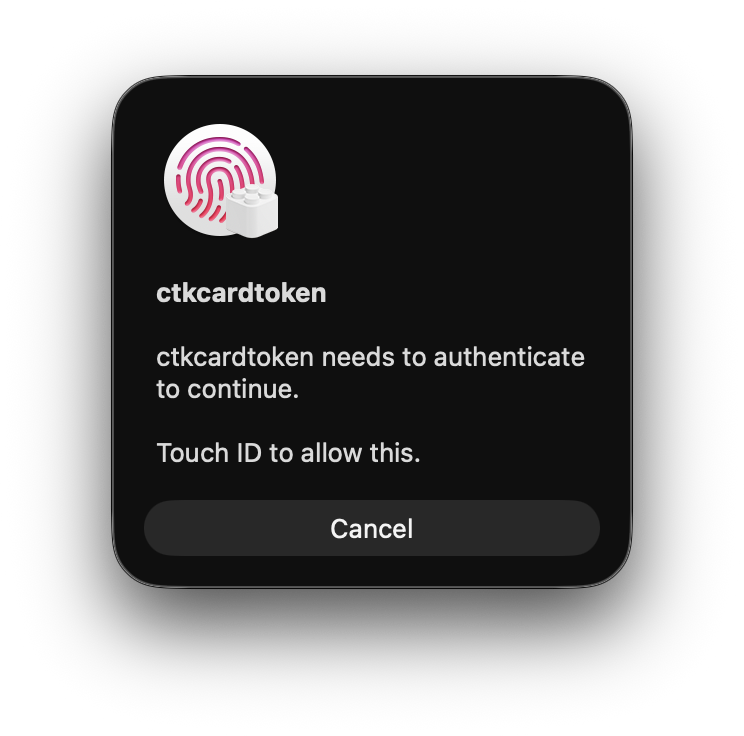
Now when you run ssh user@myhost with a valid user against one of your machines, you should be prompted to provide biometric authentication, similar to this:
And two new log messages in the SSH output:
Confirm user presence for key ECDSA-SK SHA256:<HASH>    # when the dialog appears
User presence confirmed                                 # after successful confirmation
I think this is an improvement compared to using passphrases (I don’t like to use ssh-agent, and passphrases get annoying over time), I’m not sure about how much of a hassle this will become once all my keys are hardware-backed and all hardware goes down, but once I get to that point I will surely®️™️ have a proper backup strategy for this case.
Regarding the experience of authenticating, I think there should be a better icon and description used in the authentication dialog, which better indicates where the authentication is coming from and what it’s for, apart from that I’m happy with how this currently works.
I hope this post was useful. If you have any comments, suggestions, or found errors please let me know!